Stage 1: Download your Relaymed Link
Open the Server / PC where the Relaymed Link is hosted and follow these steps:
How to download and install the Relaymed Link
Stage 2: Adding your device to your Relaymed Portal
Open your Relaymed Portal and follow the following steps:
- Once your Relaymed Link is installed, log into your Portal and navigate to the bottom-right section labeled “Device Connectivity.”
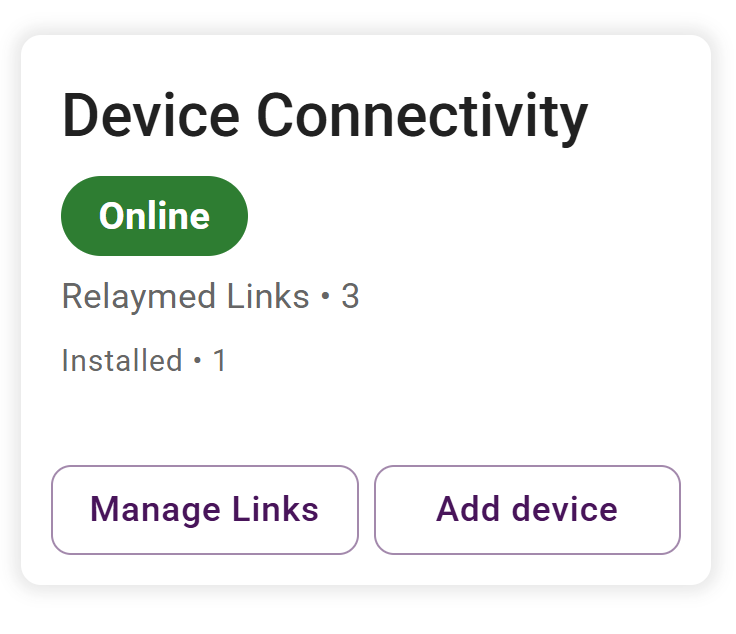
- Select “Add device.”
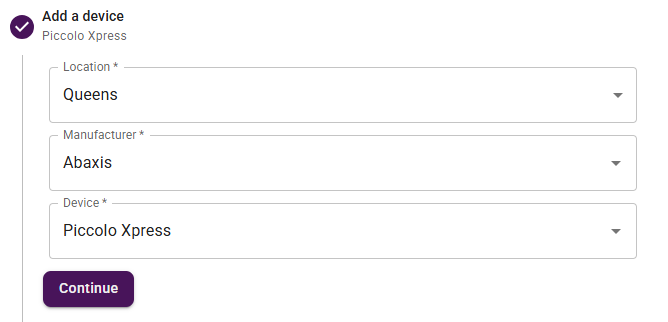
- Enter (Photo examples included):
- Practice Location
- Device Manufacturer
- Device
- Relaymed Link the device will be connecting to
- Device Name: [Location Acronym] - [Device Name] [Device Number]
- Serial Number
- Suggested Port
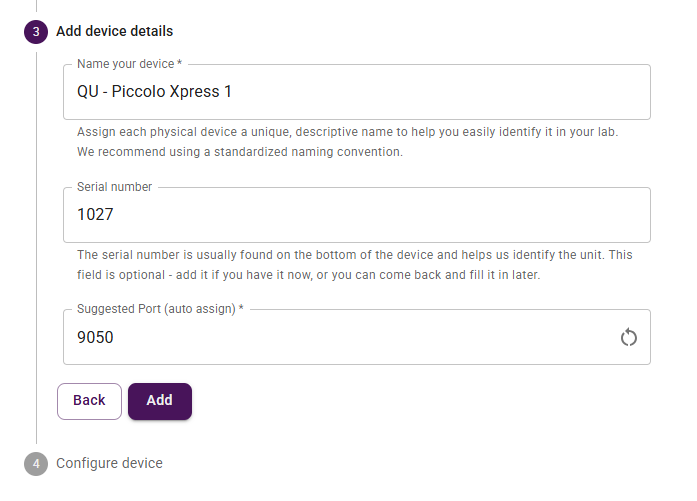
- Select the “Add” button to add the device to your Relaymed Portal.
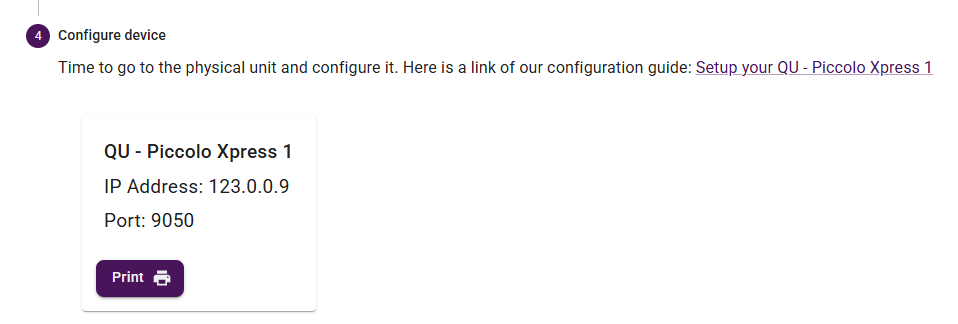
- Use the information provided to configure your device.
Stage 1: Confirming Connectivity
After adding your devices, navigate to Settings and select “Device Connectivity.” Under the “Devices” tab, locate the “ “Last Communication” column.
To verify connectivity, either recall a previous test result from your device or run a new test. If a device has not transmitted any results to the Relaymed Portal, this column will remain blank. Once a test is successfully sent, a timestamp will appear indicating the last communication.
